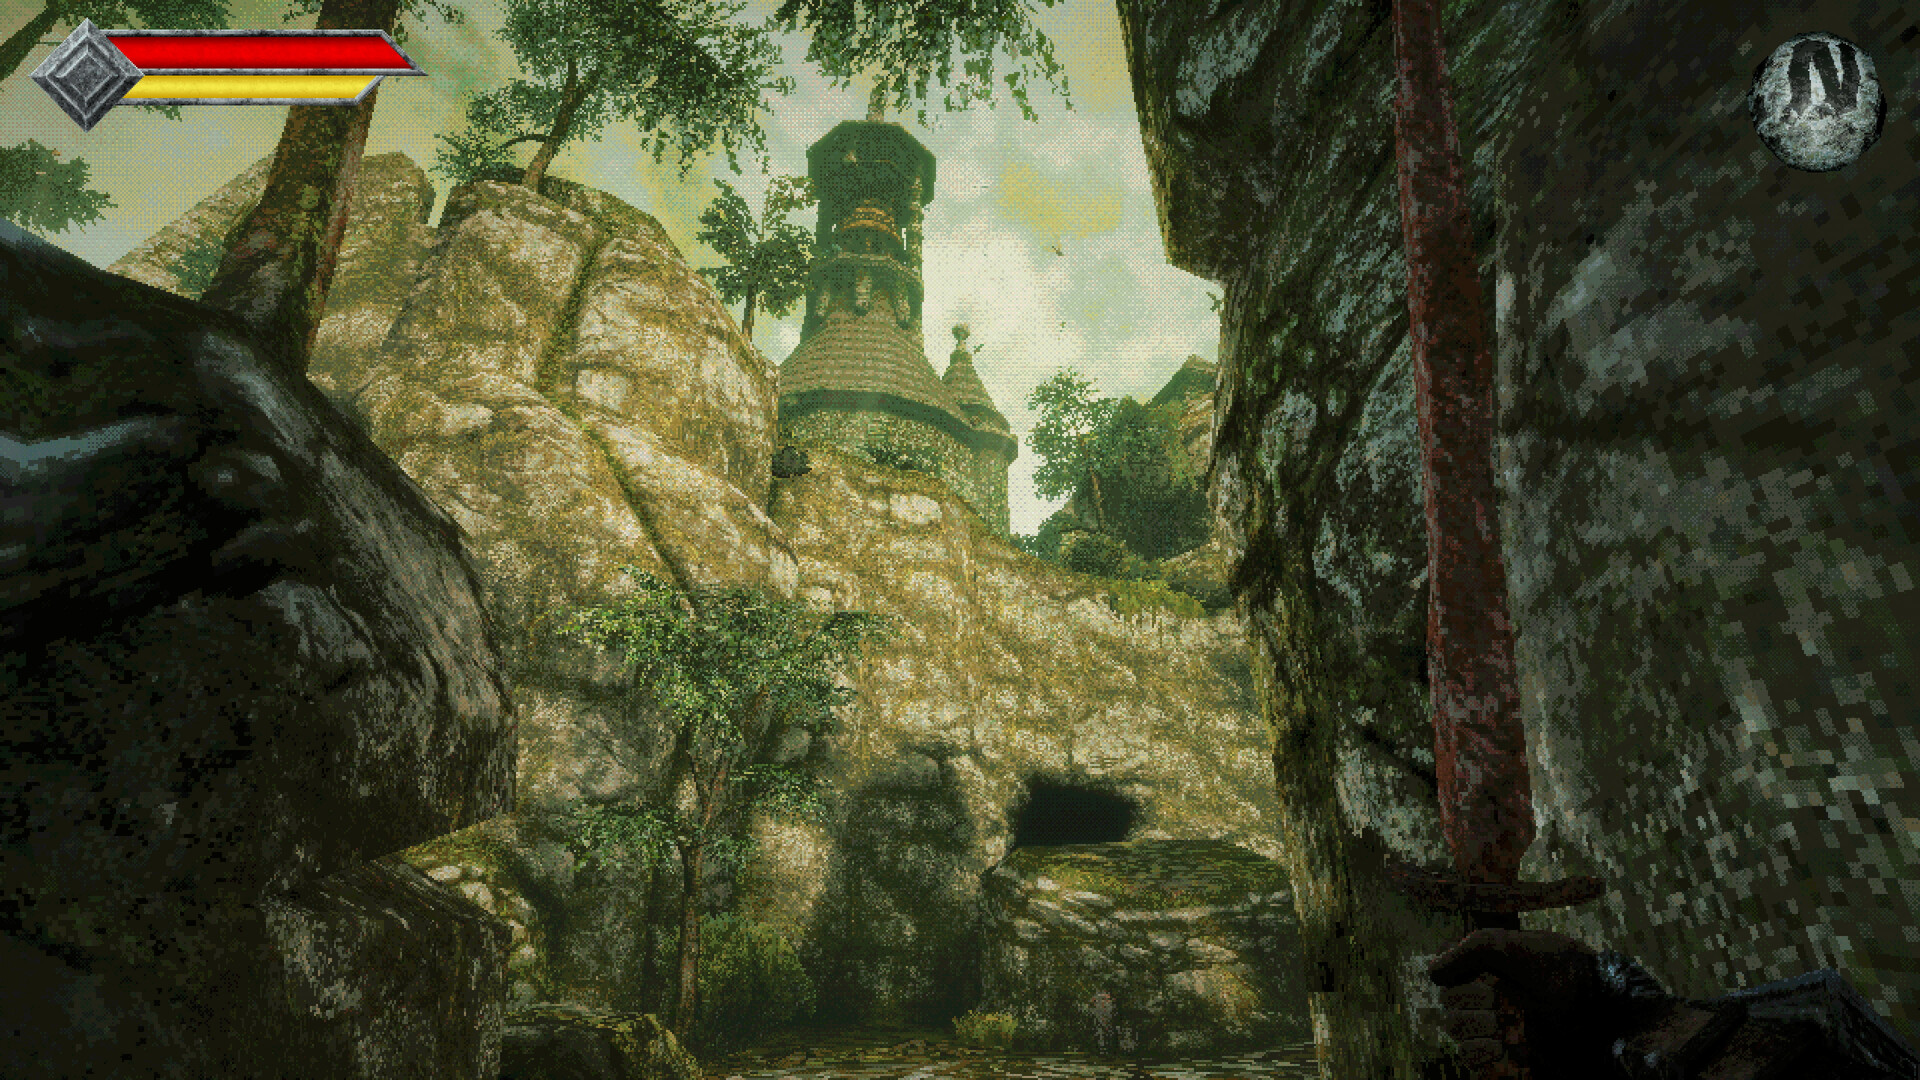
Where to Find the Weapon and Keys
The Trident weapon is in the elevated flooded ruins outside Obmuer Temple, along the raised approach to its sealed entrance. Inside the temple, Sapphire is embedded in the lower entrance cavern's wall and Emerald is deeper along the pit route; these keys handle mandatory progression when retrieved and reused, while additional keys unlock optional treasure.
Reach the Flooded Ruins
Bring the Holy Sword Endu with two Wind Dash charges before attempting the broken western bridge. If you still have only its original charge, collect another Wind Gem first. The bridge crossing depends on your available Dashes; increasing the sword's damage will not extend your reach.
The exterior weapon pickup and the temple entrance have different requirements. You can collect the Trident before opening the dungeon, but entering Obmuer Temple requires four Triangular Slates gathered throughout the flooded ruins. Trident Keys belong to the interior gates, so collecting the weapon does not replace the slate hunt.
Collect the Trident Outside Obmuer Temple
- Cross the broken western bridge with two Wind Dashes to reach the Crystal Monument on the far side and the flooded ruins beyond it.
- Follow the stone ramp out of the water onto the elevated route past the skeletal enemies. This raised approach leads toward the temple entrance and the Trident pickup.
- Interact with the Trident on the raised approach to collect the Pierce weapon. You do not need a Trident Key to take it, and the sealed temple entrance can remain closed.
- Make a manual save at a Crystal Monument after collecting the weapon. This preserves the pickup before you commit to exploring the temple's interior.
Find Sapphire and Emerald Inside the Temple
- Descend through the opened temple entrance toward the explorer's note near a flowing-water ledge. This brings you to the drop into the early flooded cavern.
- Search the wall near your landing point in the cavern below. The Sapphire Trident Key is embedded in the stone there, rather than lying along the elevated exterior weapon route.
- Use Sapphire on the single-key gate to continue through the temple. The separate gate with three slots is an optional treasure objective you can revisit later.
- From the second Crystal Monument, descend toward the large pit and Wind Dash into the wall opening below. That passage leads toward the upper section containing the next key.
- Collect Emerald from the rock near the staircase guarded by skeletons deeper inside. This key provides access to a gate near the Sacred Cistern Crystal Monument.
- Collect the third Wind Gem from the passage reached through the lower wall opening before attempting the large pit crossing. You need three Wind Dashes to clear that gap.
- Retrieve keys from opened mechanisms when you no longer need those doors held open. Reclaiming them lets you use the same keys at later locks instead of searching for a replacement for every socket.
Sapphire and Emerald are sufficient for the mandatory temple route when reused correctly. Reaching a room with additional keyholes does not mean you must fill every socket before continuing. Keep track of the mechanisms holding your keys, especially before leaving the dungeon for later optional objectives.
Spoilers: Extra Keys and the Treasure Gate
| Item | How to Obtain It |
|---|---|
| Trident Key Amethyst | Buy it from Umbada for 15 Ancient Coins after unlocking the Golden Duck Figurine shop inventory. It is tied to later progression rather than another pickup in the early cavern. |
| The Trident weapon's loose head | Use the Trident in combat until it reaches its maximum weapon level. Its head breaks off to provide an additional key; trying to detach it immediately through the inventory does not satisfy that condition. |
- Defeat the Necronomicon in the Tower of Knowledge to obtain the Golden Duck Figurine needed for Umbada's expanded inventory.
- Deliver the Golden Duck Figurine to Umbada's Trading Outpost to expand the merchant's stock and make the Amethyst Key available.
- Purchase Amethyst for 15 Ancient Coins, giving you the shop key required alongside Sapphire and Emerald for the optional treasure gate.
- Return to the three-slot gate in the early flooded cavern where you found Sapphire. Bring Sapphire, Emerald, and Amethyst together, reclaiming keys left in other mechanisms beforehand.
- Insert Sapphire, Emerald, and Amethyst into the gate to open the optional treasure area.
- Open the treasure chest beyond the gate to collect the Engraved Halberd. It has 11 Power, average attack speed, and both Pierce and Slash damage.
When a Door or Crossing Still Blocks You
- Why won't my Trident Keys open the main entrance?
- The exterior entrance requires four Triangular Slates from the flooded ruins. Trident Keys operate interior gates, so return to the exterior slate locations if you have not yet entered the dungeon.
- Do I need the optional keys to reach Dagoom?
- No. The two keys found inside the temple support mandatory progression when reused. Dagoom's door opens after defeating all three Royal Guard sub-bosses in the cavern beyond the key room, so search for a surviving guard if that door remains closed.