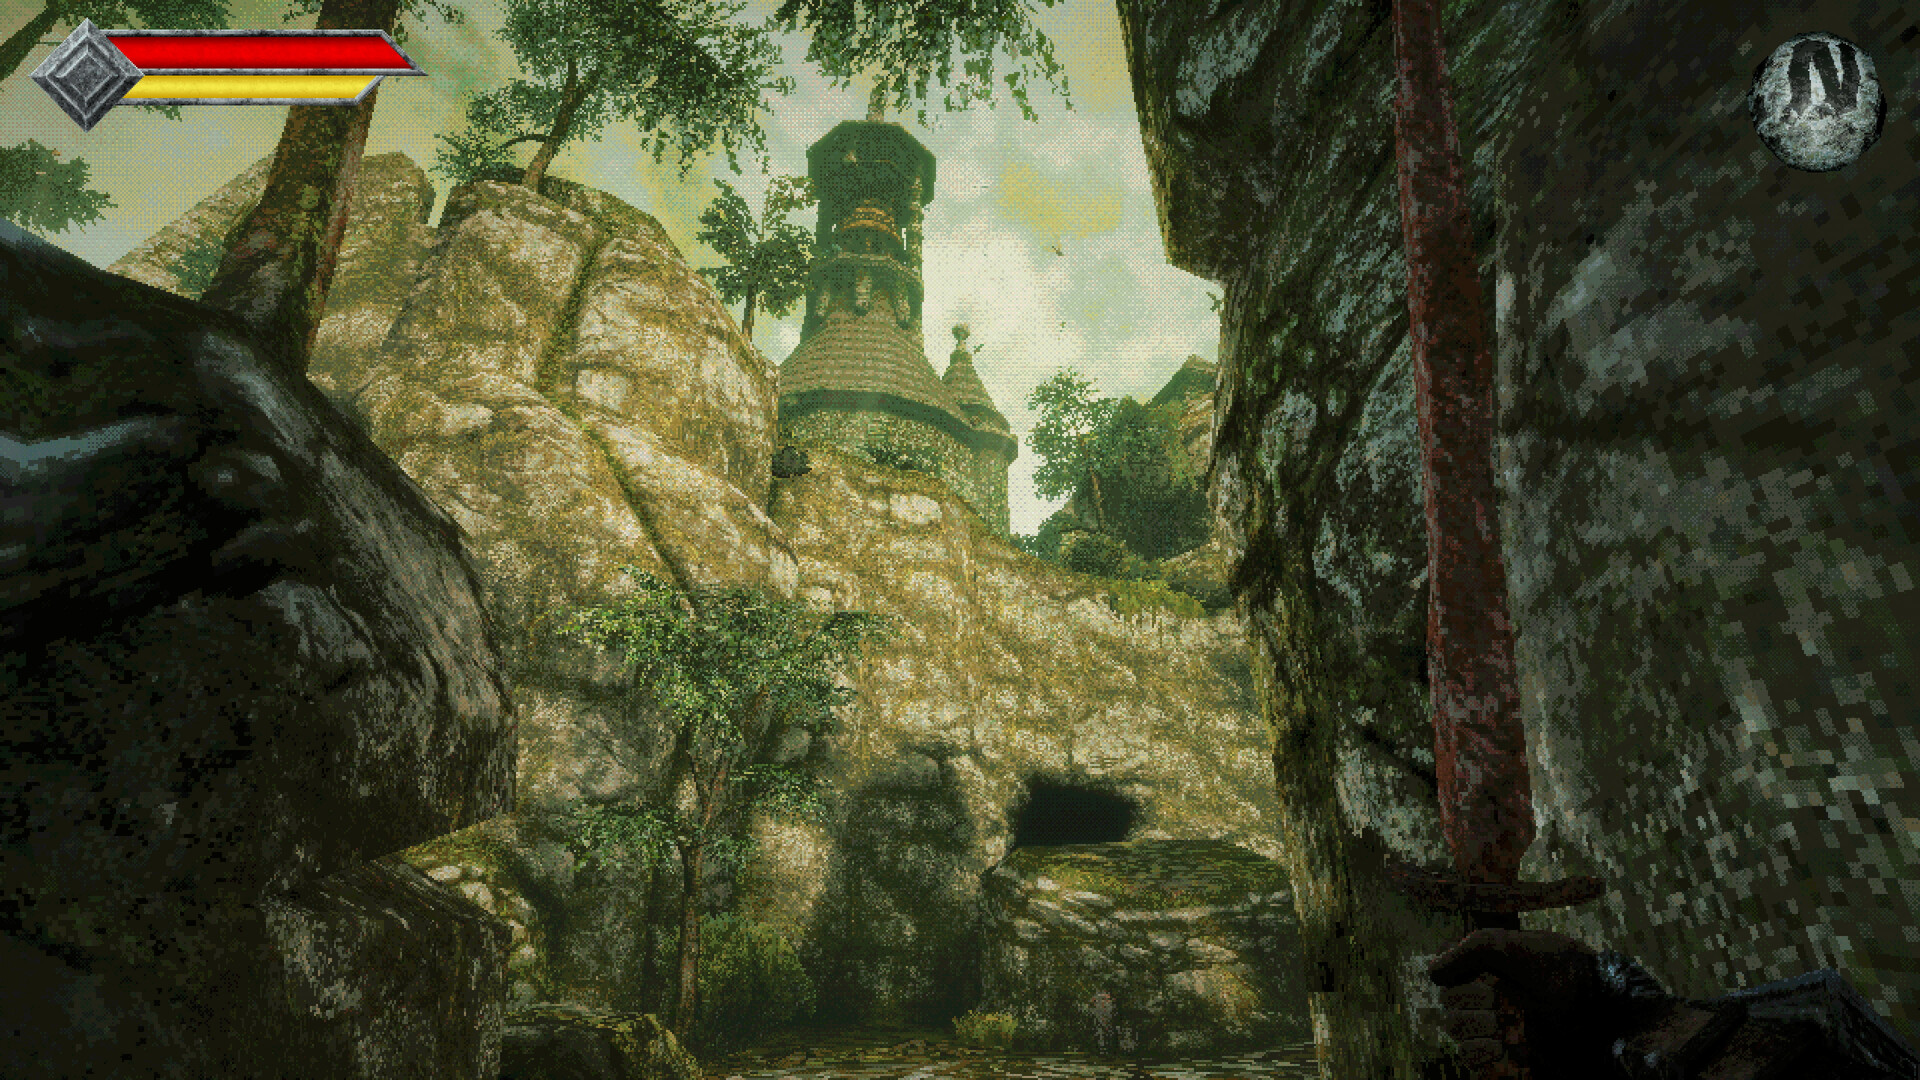
Start With the Route to Endu
Start by collecting the Dagger Belt near the shipwreck, retrieving the Endu Shrine Gate Key from the Crypt, and defeating the Shrine Guardian to obtain the Holy Sword Endu. After that, use the guide directory below to find help with blocked routes, Wind Dash, equipment or secrets.
Your search for your father takes you across the interconnected Isle of Neasied. Endu makes exploration possible by carrying you across gaps, while later movement upgrades and dungeon items open further routes. Treat an inaccessible entrance as a reason to check your current equipment before searching the same stretch again.
Opening Route: Claim the Holy Sword
- Equip the Rusted Sword offered by the soldiers at the starting camp so you have a melee weapon before heading along the coast.
- Collect the Dagger Belt near the shipwreck along the shoreline. Its returning daggers give you a replenishing ranged attack for enemies and switches.
- Throw a dagger at the diamond-shaped switch beside the blocked Crypt entrance to open the passage into the burial chambers.
- Collect the Club inside the Crypt to add Impact damage to your equipment, giving you a useful weapon against the Shrine Guardian.
- Retrieve the Endu Shrine Gate Key from the Crypt's lower chamber; it supplies the key needed to enter the locked Shrine of Endu.
- Make a manual save at a Crystal Monument before attempting the shrine, preserving the equipment and key collected during your Crypt trip.
- Unlock the Shrine of Endu gate with the key from the Crypt to reach the Shrine Guardian's arena.
- Defeat the Shrine Guardian using the Club's Impact damage to clear the way to the sword inside the shrine.
- Pick up the Holy Sword Endu inside the shrine to unlock Wind Dash and begin reaching platforms beyond ordinary jumping distance.
Use Wind Dash and Landmarks to Navigate
Navigate by the compass and recognizable landmarks, because Queen's Domain has no map. Look above and below the path when you seem to have reached a dead end. A visible destination can require a movement upgrade or key before you can actually enter it.
Wind Gems add Wind Dash charges, while increasing sword damage does not extend your reach. Check the Wind Dash meter before a crossing and give its charges time to recover. Wind Dash remains available while another melee weapon is active, so choose your combat weapon around the enemy ahead.
Progression Spoilers: Obmuer Temple to Deimpo
- Collect the Azure Torch from the Gargoyle statue at the Tower of Knowledge entrance to obtain the flame needed for the island's Gargoyle beacons.
- Find the second Wind Gem near the elevated Crystal Monument above the opening region to gain the additional Wind Dash needed for longer crossings.
- Light the first two island Gargoyle beacons with the Azure Torch to advance the bell sequence that unlocks the Tower.
- Cross the western broken bridge using two consecutive Wind Dashes to reach the flooded ruins outside Obmuer Temple.
- Place the four Triangular Slates collected in the flooded exterior at the sealed temple door to open Obmuer Temple.
- Defeat Dagoom the Sea King inside Obmuer Temple to gain access to the exit route leading toward the remaining island Gargoyle.
- Ignite the third island Gargoyle along the temple exit route with the Azure Torch to complete the beacon requirement and open the Tower of Knowledge.
- Defeat the Necronomicon beyond the Tower's Forbidden Archives to obtain the Acid Vial, which enhances your basic throwing daggers.
- Hit the fleshy obstruction near Budaen's area with your acid-enhanced basic throwing daggers to open the passage toward Deimpo Mausoleum.
Choose the Guide for Your Current Obstacle
| Your Obstacle | Guide to Open |
|---|---|
| You need the Dagger Belt, shrine key or Endu. | Follow the opening Isle of Neasied walkthrough. |
| A gap or distant platform is blocking exploration. | Open the Endu and Wind Gem upgrade guide. |
| Obmuer Temple's entrance or interior gates are blocking progress. | Follow the Obmuer Temple slate, key and Dagoom walkthrough. |
| The Tower's Gargoyles, staircase or Archives have stopped you. | Open the Tower of Knowledge puzzle walkthrough. |
| Your weapon choices are making encounters difficult. | Compare weapon locations, damage types and special abilities. |
| You want to track secret doors, chests and collections. | Use the achievements guide to organize exploration objectives. |
Prepare Your Equipment for the Next Obstacle
Let your Power Meter refill before attacking when melee damage feels weak. Running drains it, and repeatedly swinging gives it little time to recover. Check enemy weaknesses in the Bestiary before spending coins on a replacement weapon.
Use the Stone Duck Figurine from the Shrine Guardian at an activated Crystal Monument to reach Umbada's Trading Outpost. Consider additional throwing-weapon charges when you keep exhausting your ranged options. If Slash-resistant enemies are the problem, an alternative such as the Morning Star adds Impact and Pierce damage.
Secret Spoiler: Find the Pandora Blade
In the Crypt, inspect the walls near the Shrine Key chamber for a section missing the surrounding braziers. Interact with that wall to open a hidden passage containing the Pandora Blade. It is an optional pickup, so you can continue toward the Shrine Guardian without leveling it first.
Get the Full Game and Find the Community
The full game is available on Steam, PlayStation 5, Xbox Series X|S and Nintendo Switch 2. Use the publisher page for a central place to choose a storefront. The Steam demo is a separate free download.
- Get the full game on Steam.
- Get the full game on PlayStation 5.
- Get the full game on Xbox Series X|S.
- Get the full game on Nintendo Switch 2.
- Download the free Steam demo.
- Choose a store on the publisher page.
- Join the official Discord community.
- Browse player guides on Steam Community.
- Read player questions in Steam Discussions.