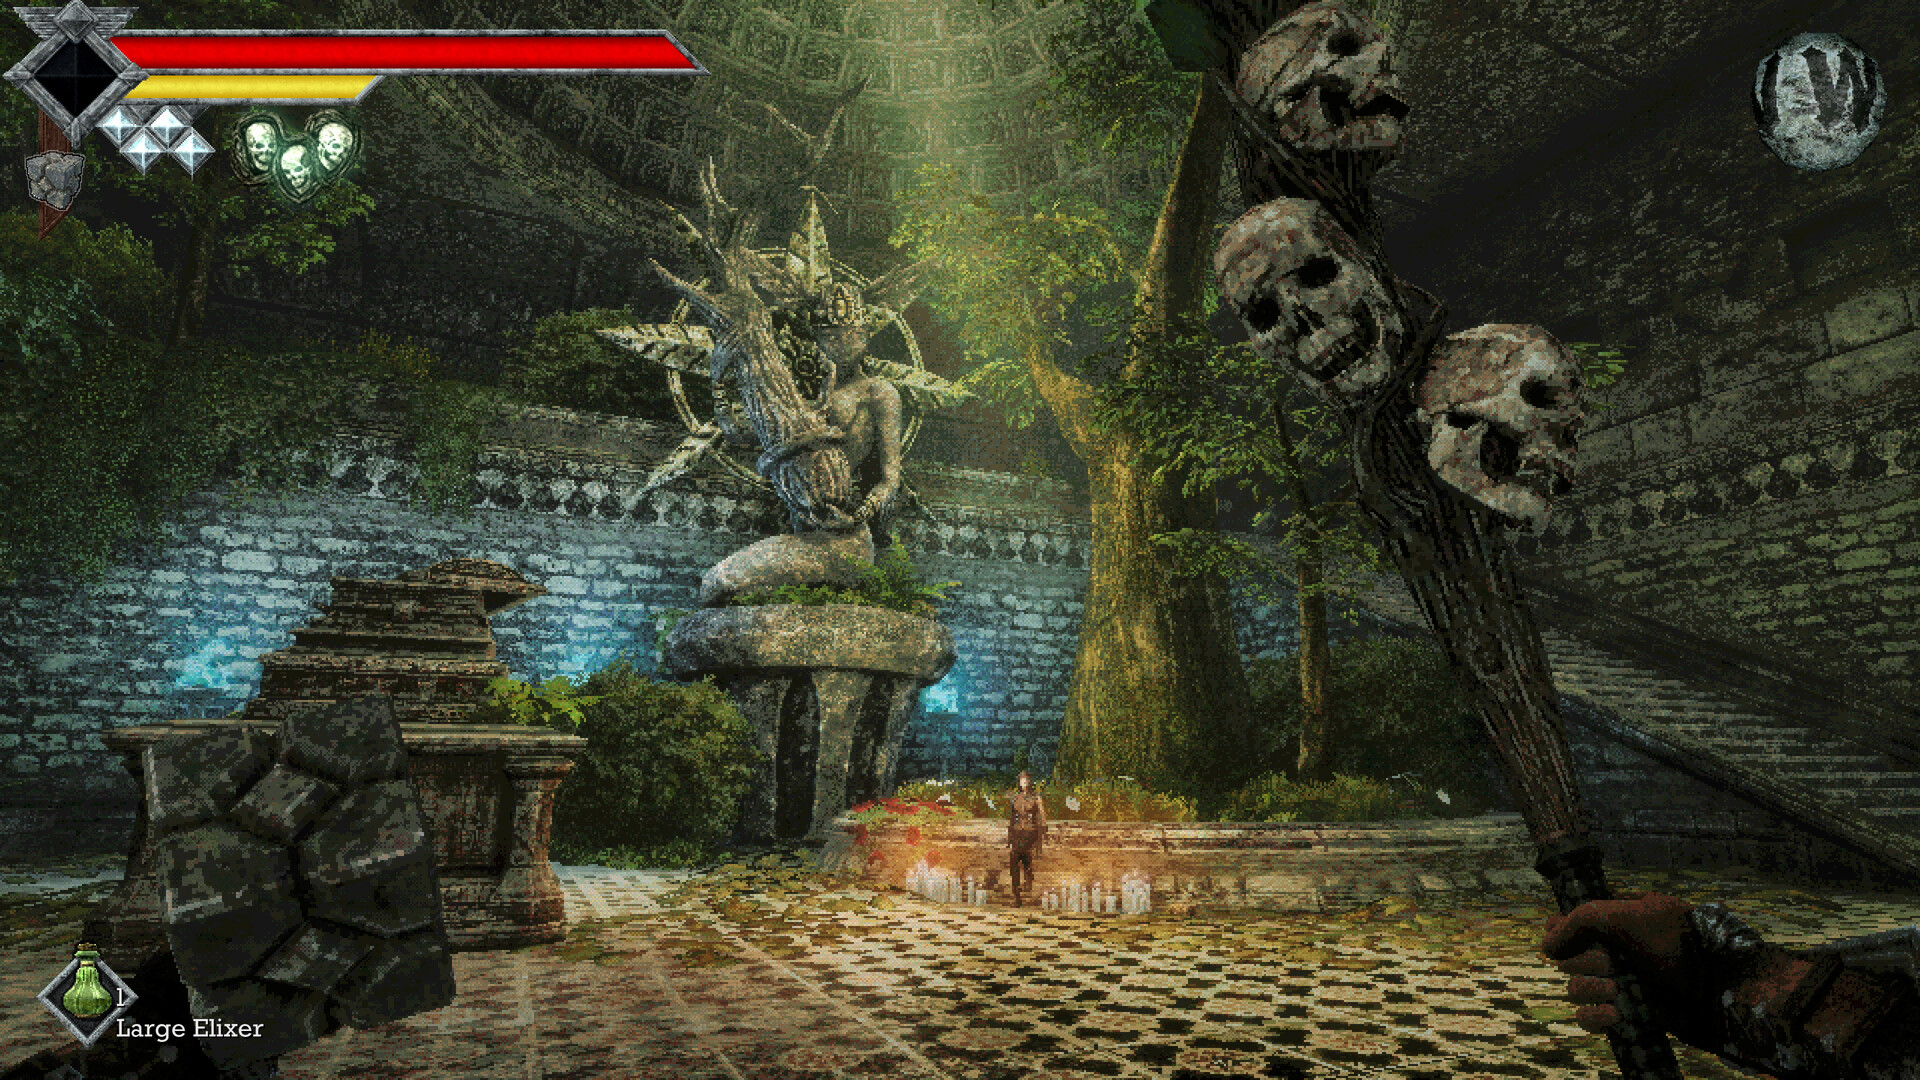
How to discover and open secret passages
To open the hidden walls in the Crypt and Chicken Roast cave in Queen's Domain, approach the wall and use Interact—E by default on PC. Look for the missing brazier near the Crypt's shrine key chamber or follow the cave skeleton's pointing arm, then track opened secret doors separately from Wind Dash routes for Concealed Passages.
Recognize an interactable wall
Watch your crosshair while examining suspicious walls and objects: it lights up when you look at something you can interact with. In the Crypt, compare the wall fixtures to find the section without the surrounding walls' usual brazier. In the Chicken Roast cave, follow the skeleton's gesture even if the crosshair does not show its usual interaction prompt.
Use the compass and memorable landmarks to keep your search organized, since Queen's Domain has no map. A useful note names the room, the visible clue and whether you actually opened the wall. This makes the shrine key chamber and the pointing skeleton better reminders than a vague note about finding a secret somewhere underground.
Spoilers: Crypt hidden wall and Pandora Blade
The Crypt's hidden passage leads to the Pandora Blade, an optional weapon. Before entering the Crypt, collect the Dagger Belt along the shoreline near the shipwreck. A throwing dagger activates the diamond-shaped switch beside the blocked Crypt entrance; the hidden wall inside opens with Interact.
- Descend the Crypt stairs to the lower chamber containing the Endu Shrine Gate Key; this is the landmark for the nearby hidden wall.
- Compare the walls' torch fixtures near the key chamber to find the section missing the brazier seen on the surrounding walls.
- Approach the wall without a brazier and press Interact, E with the default PC keyboard controls, to open the concealed passage.
- Collect the Pandora Blade inside the passage to claim the optional weapon; it is not required to defeat the Shrine Guardian.
The throwing dagger opens the Crypt entrance switch, while Interact opens the secret wall near the key. Keep those interactions distinct when retracing the route. Repeatedly attacking the masonry is not the opening method for this hidden passage.
Spoilers: Chicken Roast cave hidden exit
The Chicken Roast cave is reached by dropping from the cliff near the first Mimic. Inside, a skeleton's extended arm points toward the hidden exit wall. Use that gesture to locate the exit even when the usual crosshair interaction prompt is absent.
- Find the skeleton with its arm extended inside the cave; its pointing direction identifies the wall hiding the exit.
- Follow the direction of the skeleton's arm to reach the indicated wall and position yourself close enough to try Interact.
- Press Interact, E by default on PC, close to the indicated wall to open the hidden exit, even without the usual crosshair prompt.
Track Concealed Passages separately
Concealed Passages requires opening every secret door. Keep hidden walls separate from platform routes, ordinary locked gates, travel points and treasure vaults in your notes. Reaching an optional ledge is a different task from opening a concealed door.
| What you found | How to track it |
|---|---|
| Crypt or Chicken Roast cave hidden wall | Record the door after opening it with Interact, using the missing brazier or pointing skeleton as its landmark. |
| Distant platform or gap | Track as a traversal route. Endu crosses gaps, and Wind Gems add Wind Dash charges. |
| Ordinary locked door or gate | Keep its key or mechanism requirement separate from your interactable hidden-wall checklist. |
| Crystal Monument or Wing Altar | Track activation for Well Travelled, which requires every Crystal Monument and Wing Altar. |
| Treasure vault | Track exploration for Forgotten Rooms separately from opening secret doors. |
After opening a hidden wall, note the landmark and the opening action rather than recording only the reward you collected. Keep the Pandora Blade pickup and its concealed door as separate entries if you are also tracking equipment. This makes it easier to revisit an unfinished location without confusing a collected weapon with an unopened passage.
Save after your secret-door detour
Make a manual save at a Crystal Monument after returning from your exploration. Resting and saving are separate actions, and dying without saving returns you to your most recent saved progress. Saving after the Crypt trip preserves the key and weapon pickups you would otherwise need to repeat.