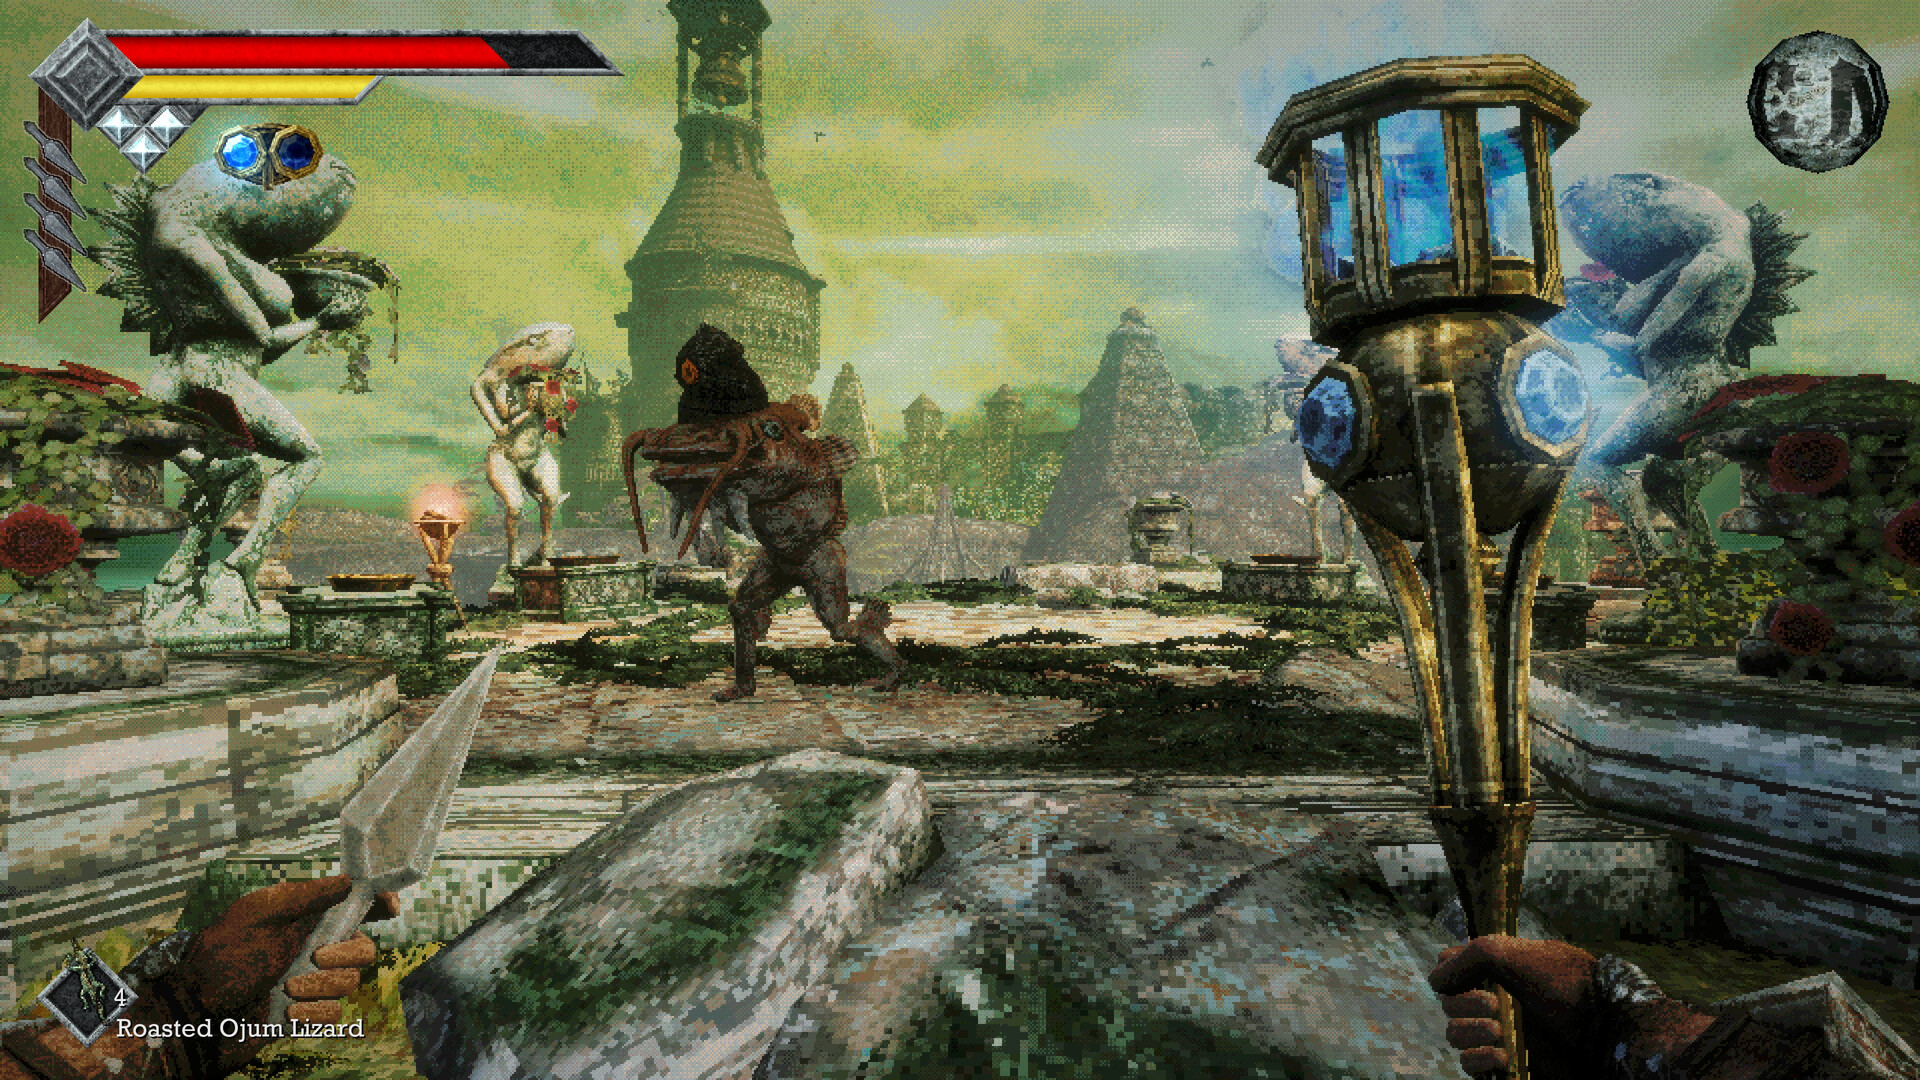
Reach the Crypt With the Dagger Belt
Before entering the Crypt, collect the Dagger Belt along the early shoreline near the shipwreck debris. Equip it so you can activate the entrance switch with a throwing dagger. Its daggers replenish through charges, giving you a ranged option while exploring the burial chambers.
The Pandora Blade is an optional detour during the trip for the Endu Shrine Gate Key. Use the key chamber as your landmark rather than searching around the sealed Mausoleum entrance near the starting camp. Check the nearby walls before taking the elevator back toward the earlier part of the island.
Items That Matter for This Crypt Detour
| Item | Details |
|---|---|
| Pandora Blade | Optional weapon inside the Crypt's hidden passage. Open the wall without the usual brazier near the Shrine Key chamber; collecting it is not required to defeat the Shrine Guardian. |
| Dagger Belt | Found near the shipwreck along the early shoreline. Provides replenishing throwing daggers used to activate the Crypt entrance switch. |
| Endu Shrine Gate Key | Found in the lower Crypt chamber near the hidden-wall detour. Opens the locked gate at the Shrine of Endu. |
| Club | Collected inside the Crypt. Deals Impact damage, making it a practical choice against the Shrine Guardian's weakness. |
Spoilers: Open the Hidden Passage and Take the Blade
- Open the Crypt entrance. Equip the Dagger Belt and throw a dagger at the diamond-shaped switch beside the blocked entrance, then enter the burial chambers.
- Descend through the Crypt toward the lower chamber containing the Endu Shrine Gate Key. Collect the key while you are here so you can continue toward the shrine afterward.
- Examine the walls near the key chamber. Compare their torch fixtures and find the section without the brazier present on neighboring walls.
- Approach the unusual wall and press Interact, which is E with the default keyboard controls. Interaction opens this hidden passage; repeatedly attacking the wall is unnecessary.
- Follow the opened passage and collect the Pandora Blade. After finishing the detour, use the Crypt's elevator route to return toward the earlier part of the island.
- Return to the Crystal Monument, restore your health if needed, and make a manual save. Save separately from resting to preserve the blade and your other Crypt pickups.
Find the Correct Wall
If you are searching without finding the passage, return to the Shrine Key chamber and compare the nearby braziers. Watch your crosshair while examining the wall: it lights up when you look at something interactive. Once you locate the section without a brazier, approach it and use Interact.
Manage Your Regular Melee Attacks
When trying the blade, give your Power Meter time to recover between melee attacks. A full meter lets melee attacks deal their full damage, while constant attacking leaves little time for recovery and lowers damage. Running also drains the meter, so stop running before committing to an exchange.
For a regular charged melee attack, hold the primary attack button, which is left-click by default. The meter gradually turns blue, and a completely blue meter gives the charged strike maximum damage. While holding a charge, you cannot run, use Wind Dash, or throw weapons, so choose an opening that leaves room to finish the attack.
Keep the Club Ready for the Shrine Guardian
You do not need to level the Pandora Blade before continuing to the shrine. The Club collected in the Crypt supplies Impact damage, and the Shrine Guardian is weak to that damage type. Collect the hidden blade while you are nearby, then keep the Club ready for the upcoming boss.